
| Before Installing: |
When you take the Thinkpad out of the box and give it a thorough going-over, resist the urge to install Linux straight-away on it. Boot up into Win98 and give the hardware a good testing. If there is something wrong with your laptop, even as Linux friendly a vendor as IBM will be more conciliatory if you are running the factory-installed OS. Test out suspend and resume, inspect the screen for bad pixels, play some games, try out the Winmodem (may as well -- it's going to be ignored a lot if you use Linux...), load some PCMCIA cards. When you're satisfied that it all works, then move up to Linux.
You may wish to alter some of the default ThinkPad behavior in the BIOS now. Hit F1 on a hard restart to access the BIOS configuration screen. I altered the Config-->Advanced-->Power settings to maintain "Maximum Performance" even under battery power. I also set the CDROM to maximum speed, and told the screen to always resize to fill the LCD display in low-resolution video modes. I moved my PCI interrupts to IRQ's 5, 9, 10, and 11. I also disabled the internal Winmodem. Alter to suit. :)
| Installing Redhat Linux: |
Pop in your Redhat Linux CD and let's get started. I will assume you are installing Redhat 6.2 or equivalent. The stock CD is bootable, so restart your computer and let the CD install take over.
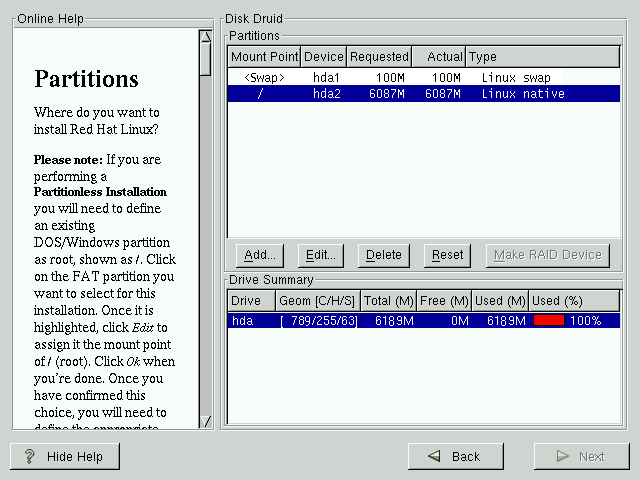
Installing Redhat Linux on this computer is a breeze. If you have not done this before, I highly recommend you view Redhat's Installation Manuals and Getting Started Guides. They're pretty well thought-out and clearly written. I'll simply provide a few notes that are specific to installing Redhat Linux on the Thinkpad 390.
Redhat 6.2 offers you three choices for a fresh install (i.e. a non-upgrade) -- a server install, a workstation install, and a custom install. The first two are designed to nearly install themselves -- a neat idea... but! The workstation install will potentially remove and wipe all Linux partitions currently installed, and the server install will potentially wipe EVERYTHING. Be careful!
Personally, I recommend using the Custom installation. It's more hands-on, but you'll see how it works, and have more say in how the installation is performed.
For a CD-install, you need neither of these options in the installation phase. Later on you may add SCSI or PCMCIA support to your laptop, but it's not necessary now. Say no.
IBM pre-formats the 6.4 GB disk into two partitions:
In the custom install, you will see a dialog in which you can choose groups of packages to install. Not only would I recommend selecting the groups, but also highlight Select individual packages. You will then be led to a screen where you can browse ALL of the packages that will be installed, individually. This gives you great flexibility and can allow you to trim the disk space required tremendously. Furthermore, you can hit F1 on any package and you will be shown a description of what that package does.
To IBM's credit, the Trackpoint looks and acts just like a 3-button PS/2 mouse. Redhat Linux should detect this automatically. You do not need to select three-button emulation! Thanks, IBM! :)
Even better, you can plug in a PS/2 mouse into the external mouse port and it will pick right up (disabling the Trackpoint). This is handy for games; playing Quake with the Trackpoint is pretty frustrating (Oh, look -- I gibbed myself with a rocket again...). When you are done, pull the external PS/2 mouse out, and the Trackpoint becomes alive again. N.B. In X-Windows, you may have to briefly flip over to a virtual console (e.g. ctrl-alt-F1) and back again for your hardware change to correctly take effect.
Really. There's nothing magical or unusual in the above paragraphs. It really is that easy. The whole process takes only about 30 minutes.
 Back to Linux on a TP 390E
Craig Kulesa Last modified: Fri Apr 21 18:13:01 MST 2000